 5 min
5 minWhat you’ll learn in this article
Have you ever needed to integrate a app that is not in Pluga’s catalog but offers an open API? Or maybe you need to periodically fetch data from one system and automatically send it to another.
HTTP Request allows Pluga to communicate directly with external APIs to retrieve or send information in your automations.
How HTTP Request works in Pluga?
In practice, it works like this. You configure the API access details for the app you want to connect. Pluga then communicates with it through a specific URL, the API endpoint.
| This communication makes it possible to:
Receive data from an API
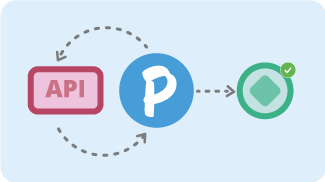
Pluga periodically sends requests to a specific API endpoint, collects newly returned data, and automatically forwards it to the destination apps you configure.
Enviar dados para uma API
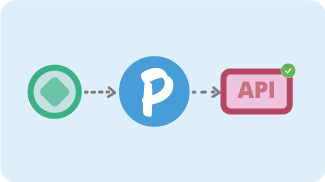
Based on a trigger event, Pluga sends a request to an API endpoint to create, update, or delete information in the destination app.
⚡️Important: Configuring an HTTP Request may require basic knowledge of APIs and the ability to read and interpret technical documentation.
Configuration overview:
HTTP Request to collect data
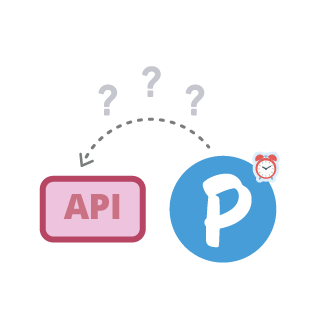
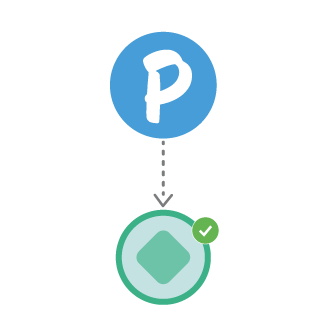
1️⃣ Pluga queries the API
Pluga regularly sends a request to the configured endpoint.
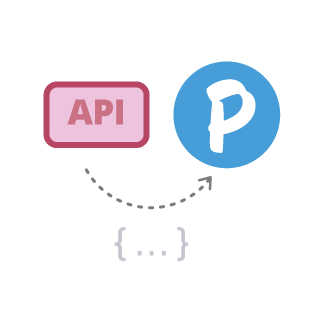
2️⃣ The API returns data
The API responds with a list of records.
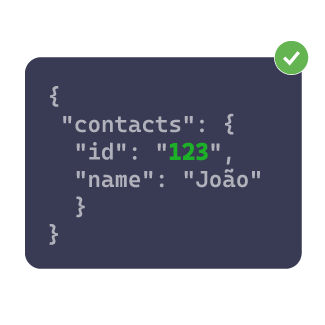
3️⃣ Pluga identifies new records
Pluga compares the unique IDs of received records with those already processed.
4️⃣ The action runs
When Pluga detects new data, it sends it to the destination app.
Configuration step by step
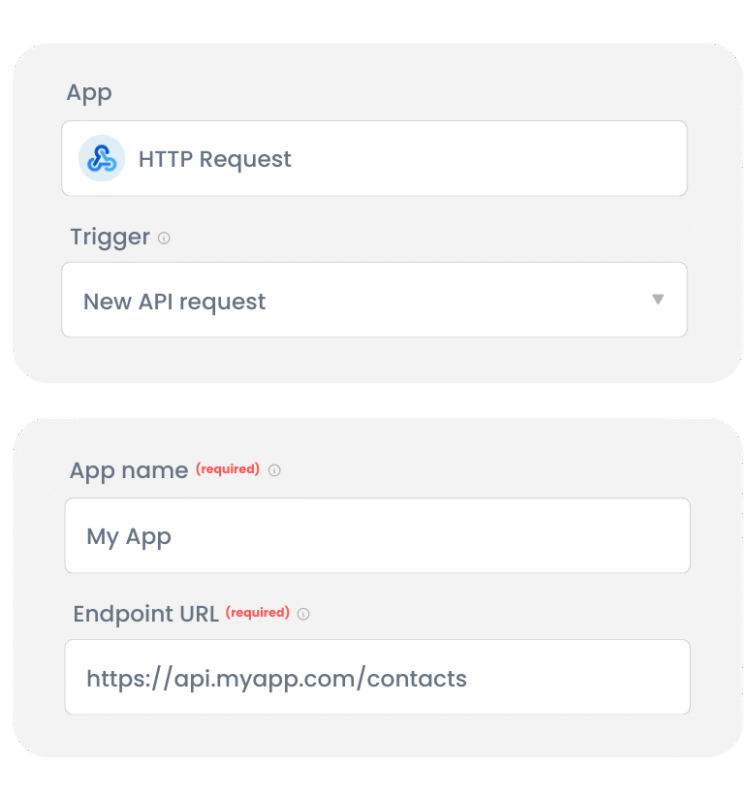
- Select HTTP Request as the automation action and configure the endpoint URL.
When creating a new automation, choose HTTP Request as the source app. Select New API request and provide:
• App name for identification; and
• Full API endpoint URL you want to query.
💡Como encontrar o endpoint para capturar dados?
Check the app’s API documentation. Look for endpoints that use the GET method and return data lists.
Example:
https://api.ferramenta.com/contacts
- Define the Data Key and Deduplication Key
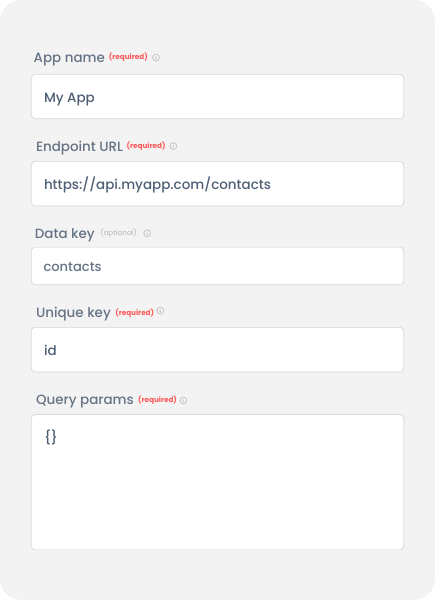
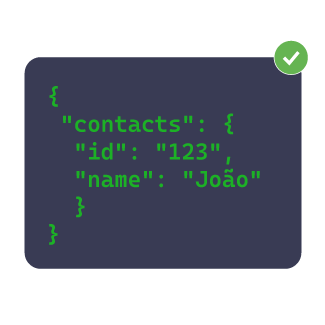
The Data Key tells Pluga which data set to pull from the API. The Deduplication Key uniquely identifies each record, usually an ID or email, so the same data is not sent twice.
If the API returns something like this:
{
  "contacts": {
    "id": "123",
    "name": "João da Silva",
    "email": "[email protected]"
  }
}
Your Data Key would be contacts.
Your Deduplication Key would be id.
💡 Tip: You can also use Query Params to refine your request, such as limiting the number of returned records or filtering by date..
Once everything is set up, click Save and continue. You can then map the incoming data to your destination app fields and finish your automation.
Combine HTTP Request with other Pluga features
HTTP Request becomes even more powerful when combined with other Pluga apps.
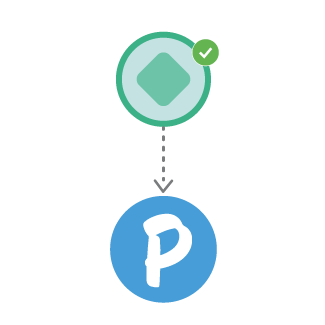
1️⃣ Pluga is notified
When something happens in your source app, Pluga is notified.
2️⃣ Pluga organizes the data
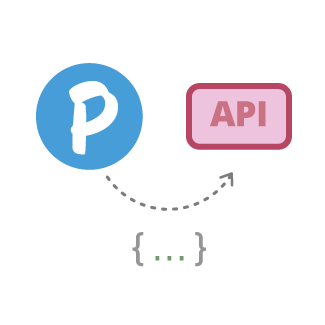
Then, Pluga organizes the received data according to the mapped fields.
3️⃣ Pluga sends the updates
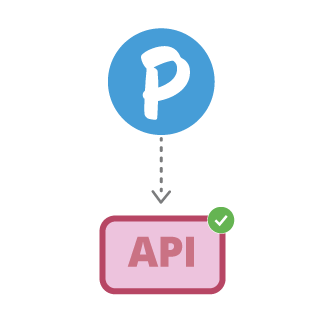
The API receives the data sent via Pluga, and the action is executed.
4️⃣ Automation is completed.
The data is inserted, updated, or deleted, and the step is completed.
Configuration step by step
- Select HTTP Request as the automation action and configure the endpoint URL.
When creating a new automation, choose HTTP Request as the source app. Select New API request and provide:
• App name for identification; and
• Full API endpoint URL you want to query (POST, GET, PUT, PATCH, DELETE);
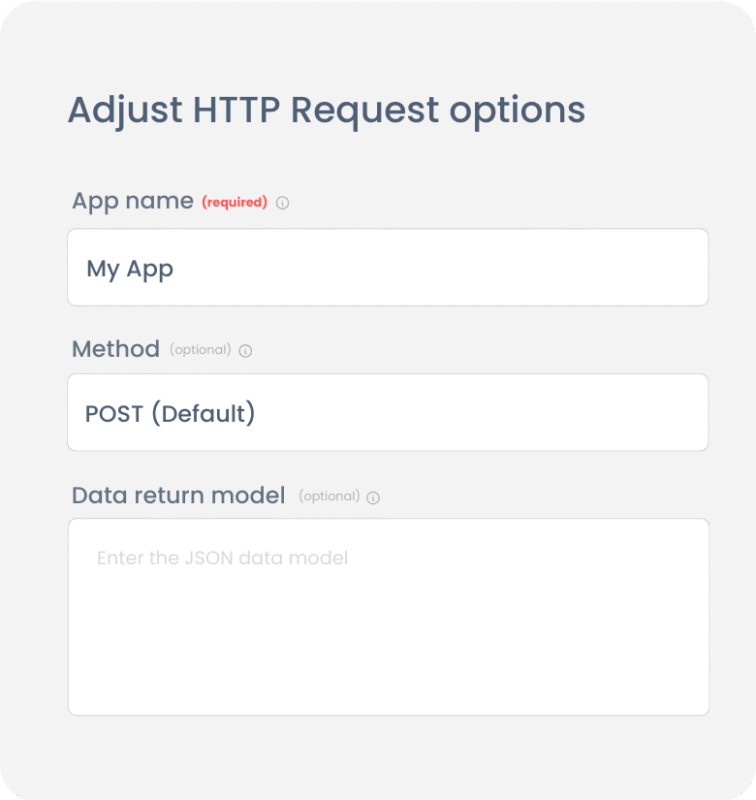
- Configure os campos que deseja enviar
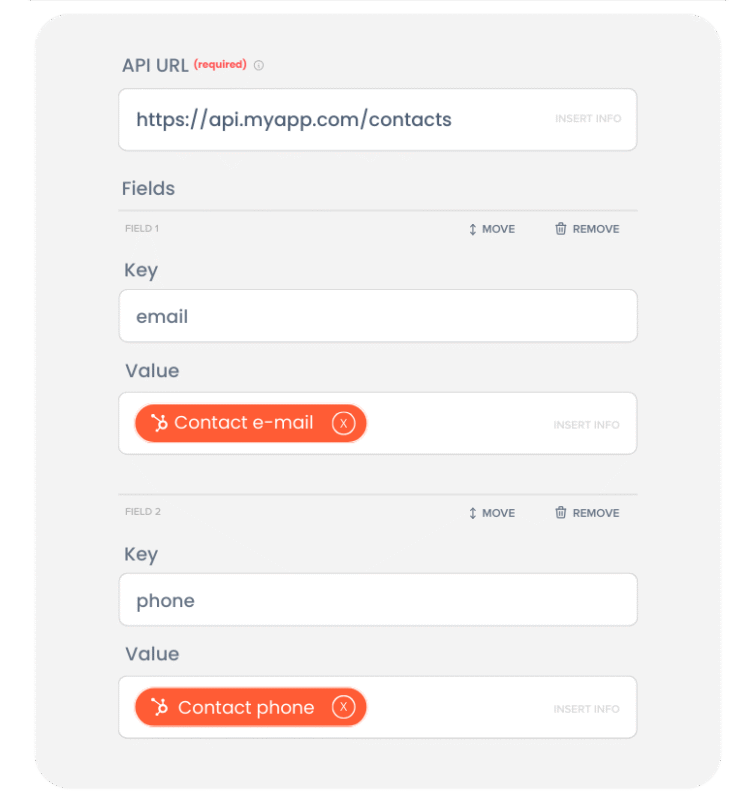
Next, simply tell Pluga:
• The endpoint URL where the data should be sent;
• The names of the fields that Pluga should fill in; and
• Map the values that should be sent for each mapped field;
💡 Tip: You can also configure header and query parameters in your request.
Combine HTTP Request with other Pluga features
HTTP Request becomes even more powerful when combined with other Pluga apps.

Conditional Filters
Set specific rules such as only sending data that matches defined criteria.

Pluga Formatter
Adjust text, remove characters, fix number formats, or adapt dates before moving forward.

Multi-action
After identifying new data, send it to multiple apps in a single automated flow.
Why use HTTP Request in Pluga
Now that you understand how HTTP Request works and its main use cases, here is why it is worth using:
✅ More flexibility by integrating apps without native connections;
✅ True automation that removes manual work and saves time;
✅ Full customization of API calls based on your needs;
✅ Scalability to connect your operation with any system that offers an open API.
FAQ
HTTP Request is a Pluga feature that allows you to fetch and send data between apps through APIs, even when they do not have native integrations. It enables automated communication between different systems.
It is used to integrate apps with open APIs, allowing you to:
Periodically fetch data from an API
Automatically send information to another app
Update or delete records based on trigger events
You configure the API endpoint, define which data should be collected or sent, and Pluga handles the rest by performing HTTP calls such as GET, POST, PUT, PATCH, or DELETE based on your setup.
Pluga supports the main HTTP methods:
GET to fetch data
POST to create new data
PUT or PATCH to update existing data
DELETE to remove data from a destination app
You do not need to be a developer, but basic knowledge of APIs and the ability to interpret technical documentation are important for correctly configuring endpoints, parameters, and mapped fields.
The Deduplication Key uniquely identifies each record, such as an ID or email, preventing the same data from being sent more than once to the destination app.
Endpoints are provided in the API documentation of the app you want to integrate. They are URLs that define where data should be retrieved or sent.
Yes. Pluga supports Query Params to filter results, limit returned records, or fetch data within a specific time range.
Yes. During setup, you can add header parameters such as authentication tokens or any fields required by the API.